So how to waterproof wood at home? It is easy. Anyone can do it if they follow the exact steps that I will share in this article.
But first, tell me, why should you waterproof wood? If your primary reason is to protect and make the wood long-lasting then you are in luck.
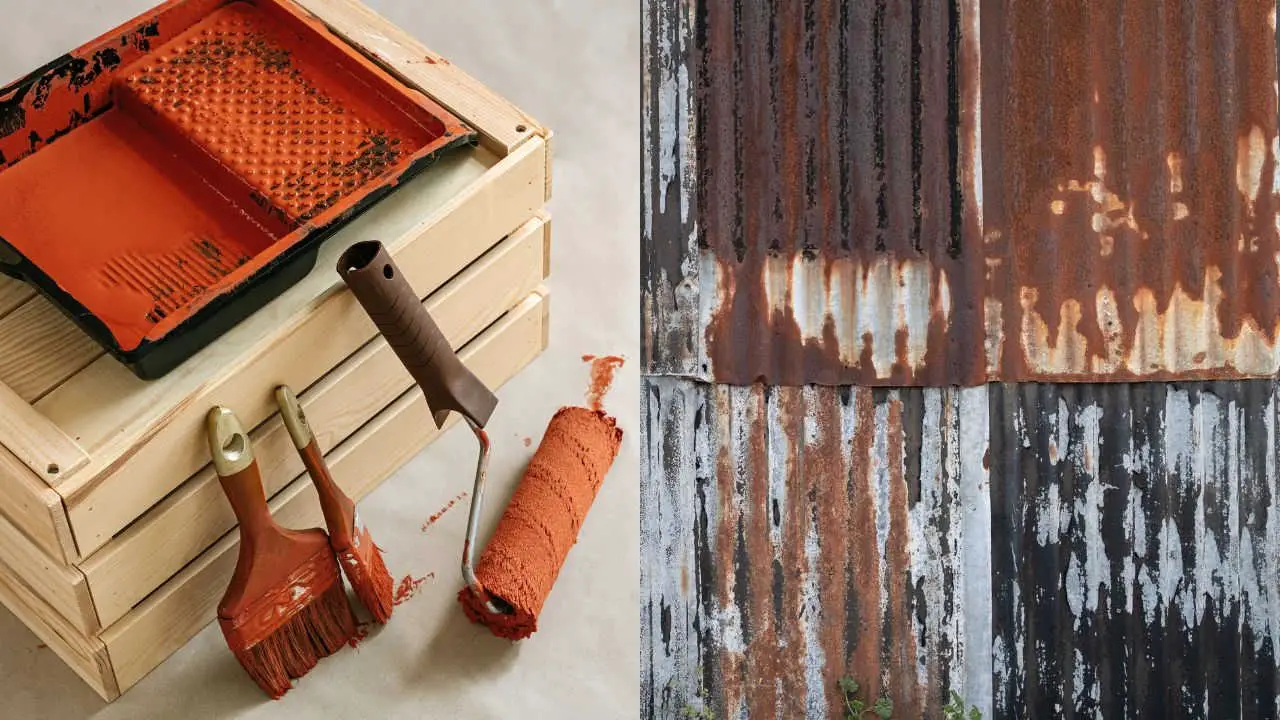
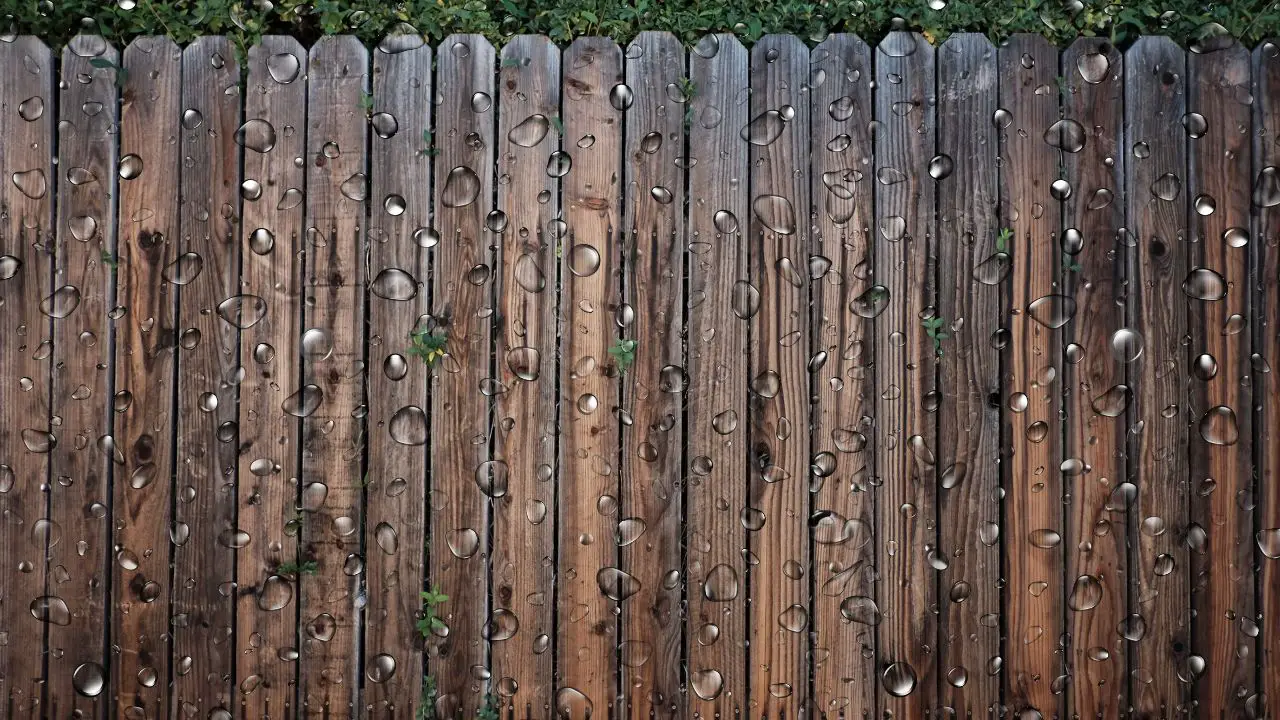
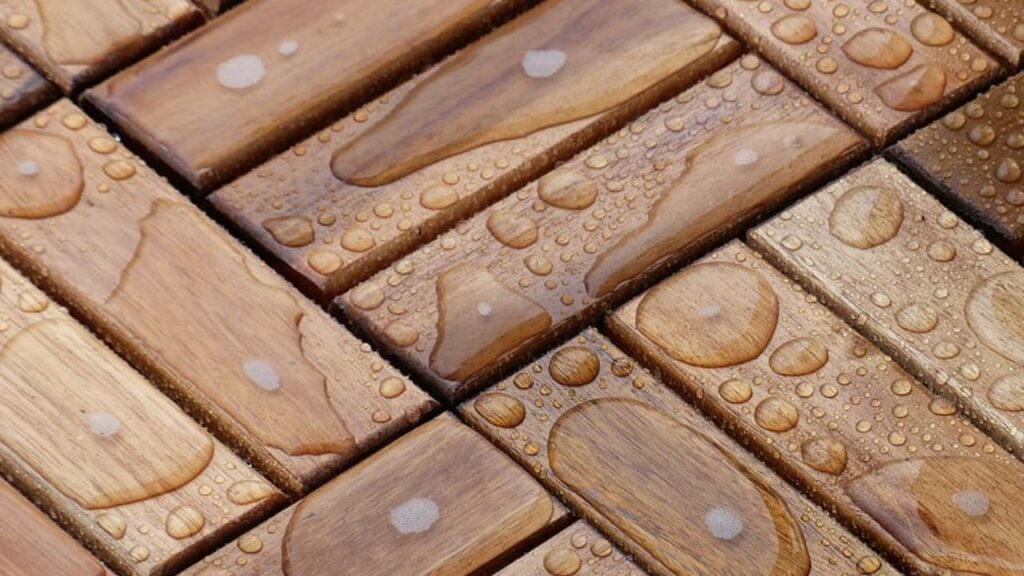
Time on time, water causes cracks, wraps, and deformities to the original look and shape of the wood.
It can be because the cause of mold and mildew, leading to discoloration and rot in a few years.
This damage can occur especially to those woods that are weather-exposed wood, such as wooden fences and outdoor furniture.
Plus the woods inside the house are also prone to damage because of the kids and pets.
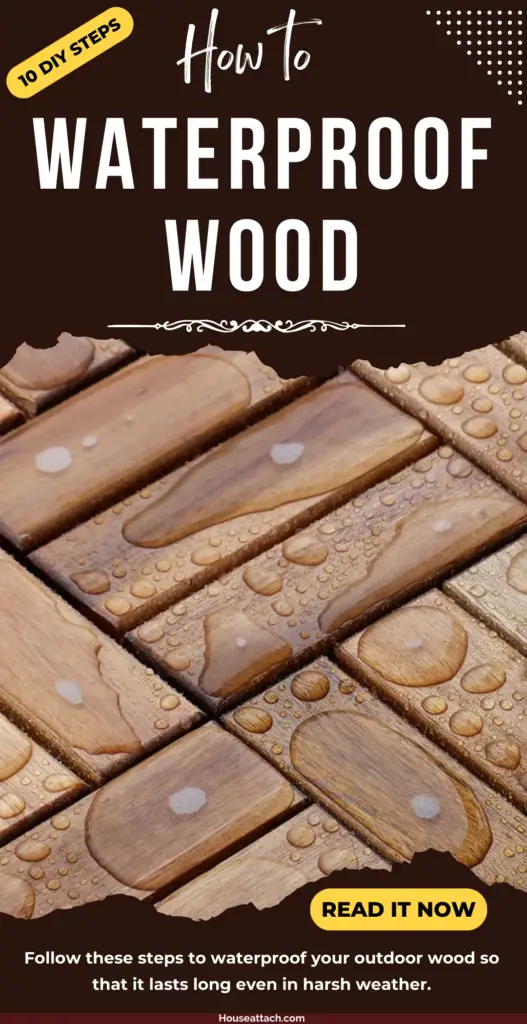
Table of Contents
If you waterproof the wood, then it will protect it from the following.
- Wood deterioration
- Moisture damage
- UV rays protection
- Frost problems
- Worm infestation
- Heavy foot traffic
The wood you choose will also affect how long it can last if you do not waterproof it. But an average wood needs immediate protection.
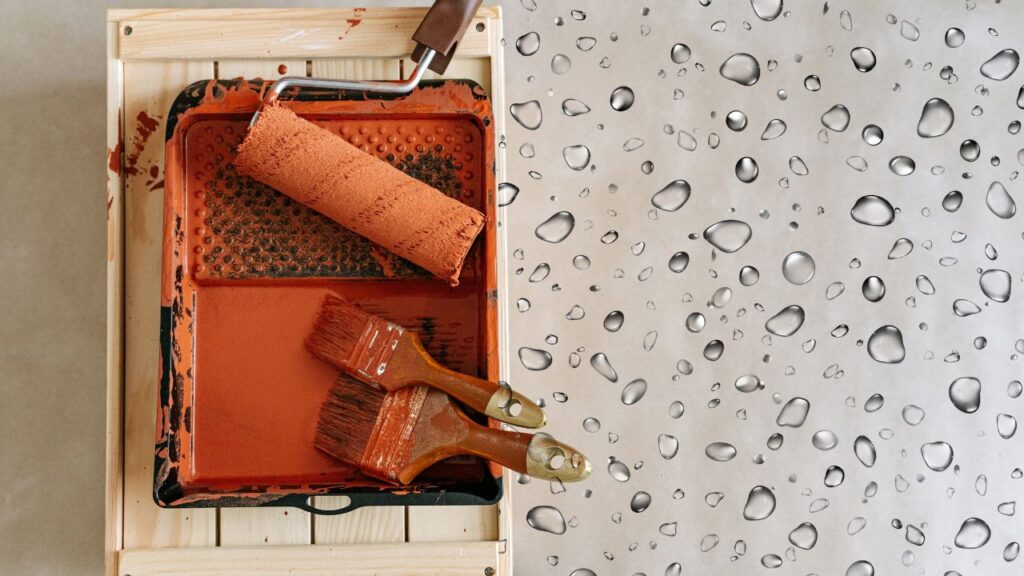
Tool Required for Waterproofing
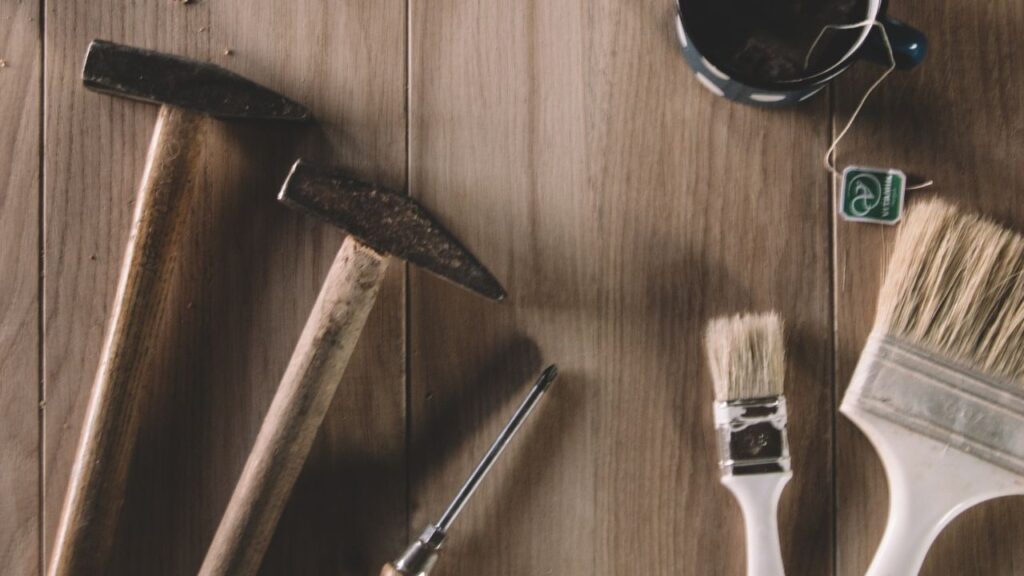
Purchase the thing that is listed below to start the work.
- Paintbrush
- Lint-free rags
- Hand gloves
- Protective eye gear
- Face mask
- Sandpaper
- Wood Primer
- Waterproof finish color
You can choose any paint color you want. Just follow the steps to make the wood waterproof for decades to come.
Type of Paints Used for Waterproofing
Before you learn how to waterproof wood, you need to know what paint types are available for you to use.
There are mainly three ways you can waterproof your wood: Oil finishes, Stains, and Sealants. Choose a paint type according to your likes, color, and budget.
1. Oil Finish Color
Oil finish is one of the best protection on the wood surface. Oil does not just sit on the top of the wood but penetrates it and shields it against rain, aging, and wear and tear.
Plus, oil paint is easy to apply and can make the wood brighter, like a natural look.
You can choose either linseed oil, Danish oil, or tung oil for your project, as these are the most popular ones.
2. Stain Finishes
Stains are also a type of oil-based finish mixed with vinegar. They do the same work, like penetrating the wood, but also tinting or staining the wood alongside it.
It contains some tiny pigments that change the color of the wood once applied. It is used to enhance the appearance of the wood and protect it.
Stain wood paints are more expensive than other paint types and offer more protection. It comes in a variety of colors and tints according to your wants.
It can last a decade and is a perfect choice for outdoor living spaces.
3. Sealant Finishes
Sealant is a different type of paint that is designed to help strengthen the wood. It has a transparent coating that repels the water from the wood.
Although, Sealant does not give as much protection as Stain paint does but adds an additional layer of moisture protection.
How to Waterproof Wood for Outdoors and Bathroom
So how to waterproof the wood? Follow the below steps. I am assuming that you have chosen your paint types and collected all the required gear you need.
Now start by wearing hand gloves, a face mask, and protective eye gear, and clean the wood surface.
1. Clean the Wood Surface First
First, clean the surface thoroughly. Remove all the dirt and other removable things from the wood using soap, a detergent with water, or any cleaning liquid if you have one.
No need to buy the cleaning liquid, if you do not have it. You can use normal cleaning. Then dry it for an hour to make it ready to use the sandpaper.
2. Use the Sandpaper to Clean the Wood
Now use the sandpaper carefully and remove all the imperfections available in the wood. But do not oversand it as it may backfire.
Then clear all the dirt from the surface to make it smooth and help with the wood primer.
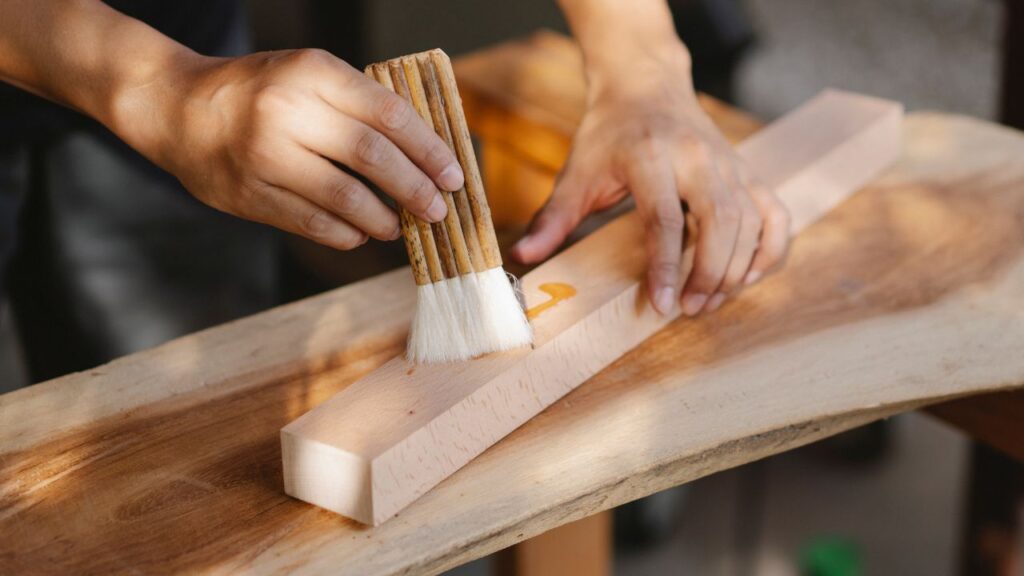
3. Apply the Wood Primer
Remember, wood primer is different than normal wall primer. Buy only the wood primer. Then start to paint it using a paintbrush slowly.
- Dry it for a few hours or even a day, then re-coat it with a light primer.
- Dry the primer again for 24 hours, and then you are ready to apply the original paint color.
- One more thing, choose the white primer for wood as it will help your paint to glow even more. Although, the color primer is also available in the market.
Remember, primer is important in wood painting if you do not want any future damage to your wood. The next step how to waterproof wood is to apply real paint.
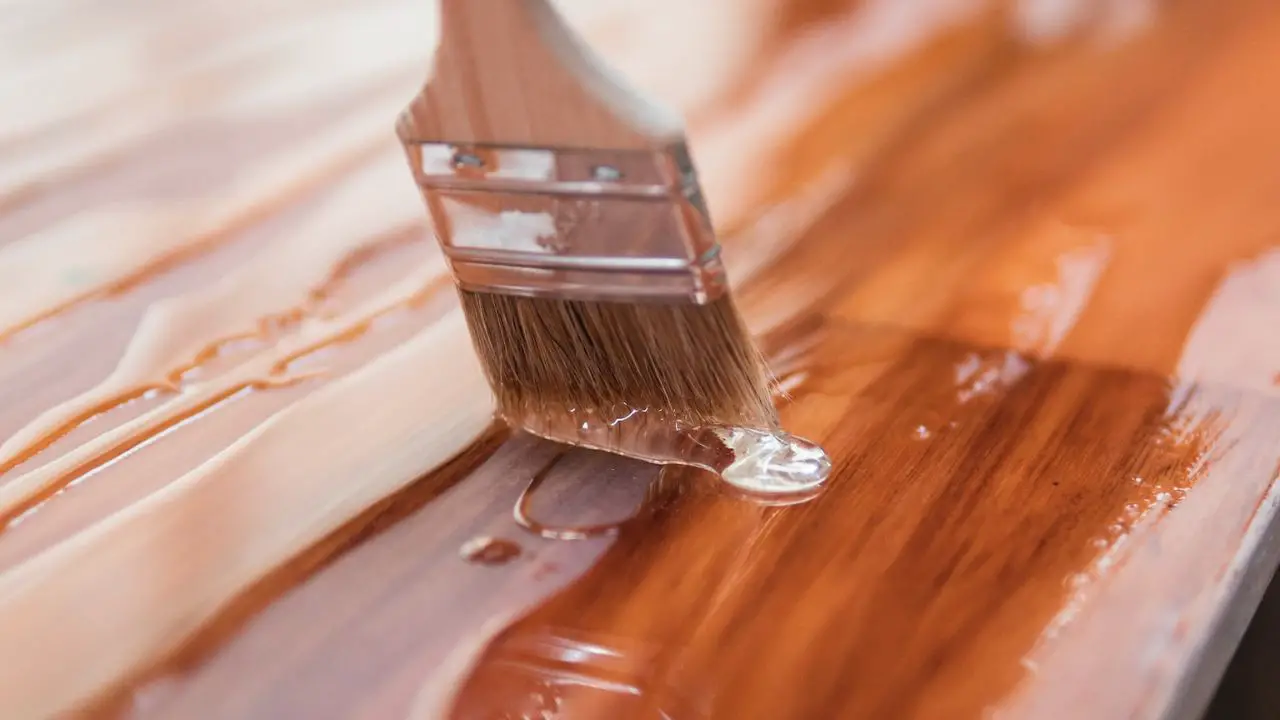
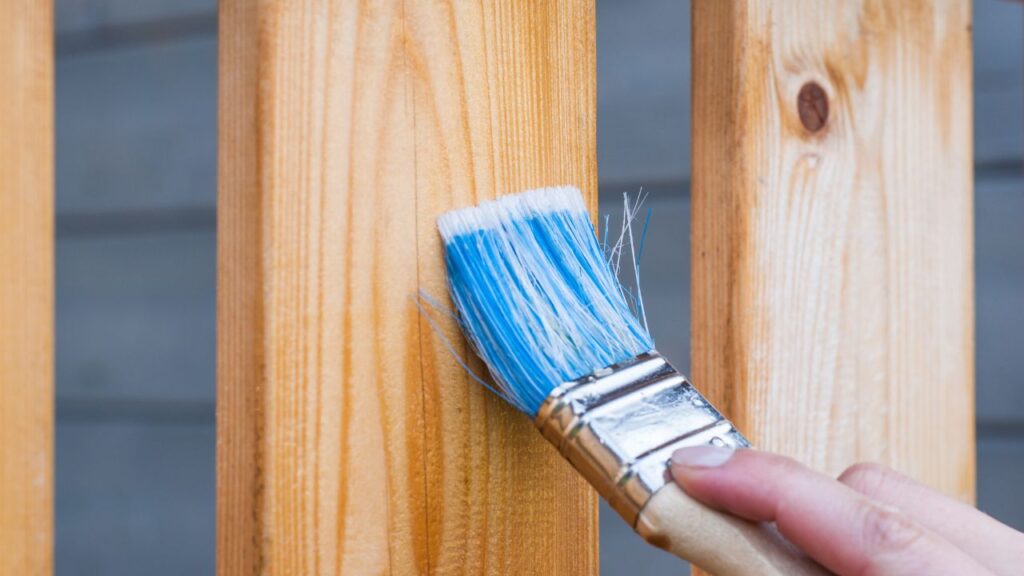
4. Apply the Waterproof Color of Your Choice
Before you use the paint, shuffle the paint well so that it mixes properly.
Then use a separate brush, start at the edges of the wood, and apply the waterproof paint finish until you have painted all the surfaces on both sides.
Dip your paintbrush again, overlap the first stroke to make it deep, and let it dry for a few hours or even a day.
Professionals recommend 24 hours. If you miss any spots and niches after a few hours, do not paint them. Leave them for the re-coating time.
5. Start the Re-Coating the Wood
Then when it dries, start the re-coating with a light stock and slowly finish it ending all those remaining spots.
Then check it thoroughly if you can improve anything. If there are none, you are done here for the day. This is how to waterproof wood from start to finish.
6. Wait 24 Hours for Drying
Next thing, know that drying times depend on the temperature and humidity levels in the air. So let it dry for 24 hours or more.
It is considered a safe period. Then you can use the wood anywhere you want.
7. Protect the Paint from Rain and Dust
Yes, protect the paint after painting it for at least a day. If there is a possibility of rain, use a cover to cover it up.
Also, to make the paint last longer, check the paint for any damages occasionally. Check it and fix it so that your wood can stand tall for decades to come.
Last Words
So this is how to waterproof wood outdoors and indoors by following these simple seven steps. Anyone can do it if they have all the proper tools and the required primer and paint.
Use the right paint in the right way, and your wood will stand tall for decades to come.
Wood Waterproofing FAQs
What liquid makes wood waterproof?
Any oil-based paint can be good protection against water for bathroom or outdoor uses.
How do you waterproof a bathroom wood floor?
Use oil made for bathroom wood to make it waterproof. The oil closes all the pores and cracks but does not harm the airflow in it so that the wood can last long.
What is the best way to waterproof wood?
Use the oil finish paint as it does not just sit on the top of the wood but penetrates it and shields it against rain, aging, and wear and tear.
What is the cheapest way to waterproof plywood?
Painting plywood is the cheapest and easiest way to waterproof it, especially for outdoor uses.
Follow Me on PINTEREST for More Ideas.