Disclosure: This post may contain affiliate links, As an Amazon Associate, we may earn a small commission if you buy through the link from our site at no additional cost to you as it really helps.
Are you tired of those septic system installations that take days and cost you huge money that most people can not afford? Do you want to take matters into your own hands and create a septic system that fits your needs and budget?
Then here I am to help you out with a simple buying guide.
I will guide you through this step by step process of building your own DIY septic system at home and how to maintain it so that it lasts long and does not release odor.
How to Build a DIY Septic System at Home (step by step)
Before explaining how to build a DIY septic system, you must understand the basic components and functions of a septic system. So that you can install the tank flawlessly.
As you know, a septic system is a wastewater treatment place commonly used in rural areas with no access to a municipal sewer system that people use in cities. So those systems consist of four main parts.
Read also: Septic Tank Cover and Landscaping Ideas.
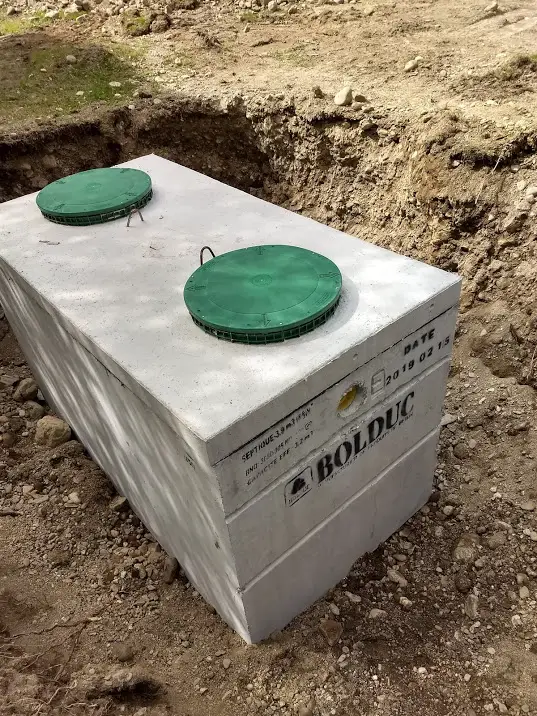
1. The Septic Tank
The septic tank is the first component of a septic system as you know. It is a watertight underground tank made of heated soil that we use for bricks or sometimes made of iron that collects and holds the wastewater from your household toilets.
2. The Soil
The soil plays an important part in the septic system. If the soil is not good, then the chance is your septic system will not last long and the system will become inefficient.
The soil acts as a natural filter, further treating the wastewater before it reaches the underground water. So that you do not have to clean it often.
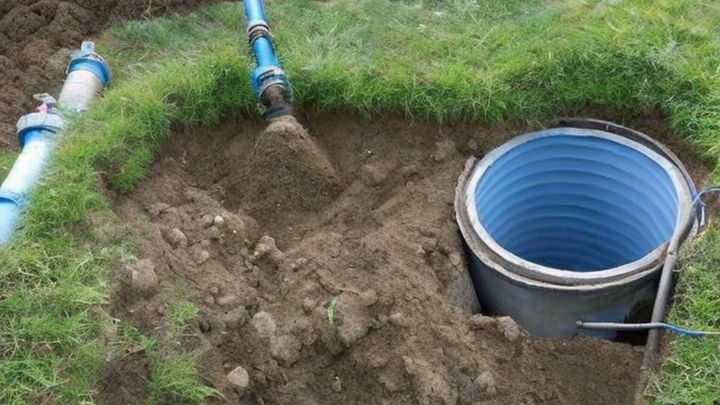
3. The Distribution Box
The distribution box is responsible for evenly distributing the treated wastewater to the drain field, or else the waste will scatter and produce a huge odor that you and your neighbors can not tolerate.
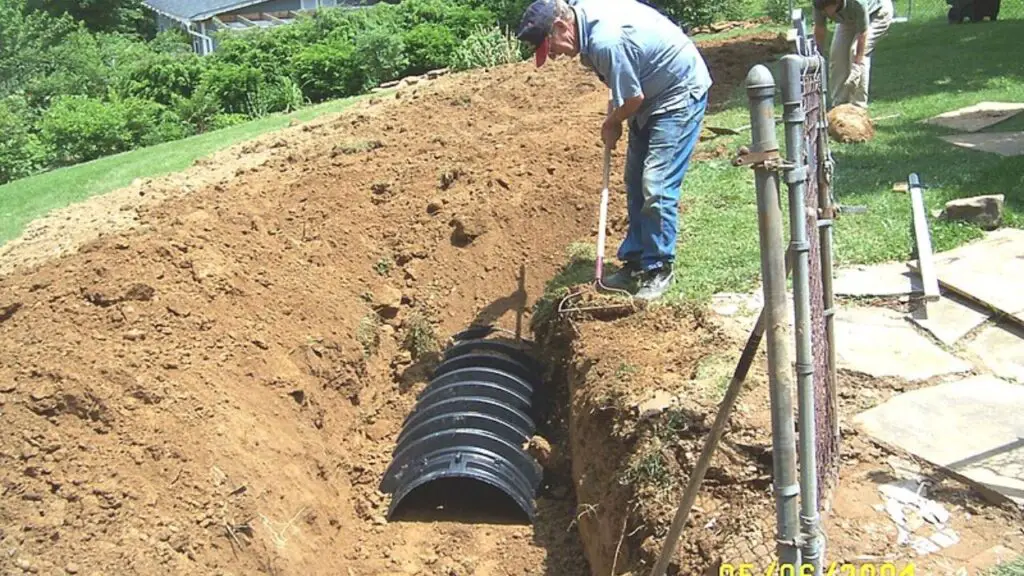
4. Drain Field
The drain field is a network of pipelines that are installed underground. It allows the treated wastewater to gradually seep into the soil and get treated again before entering the groundwater system.
Now Let’s start the Digging
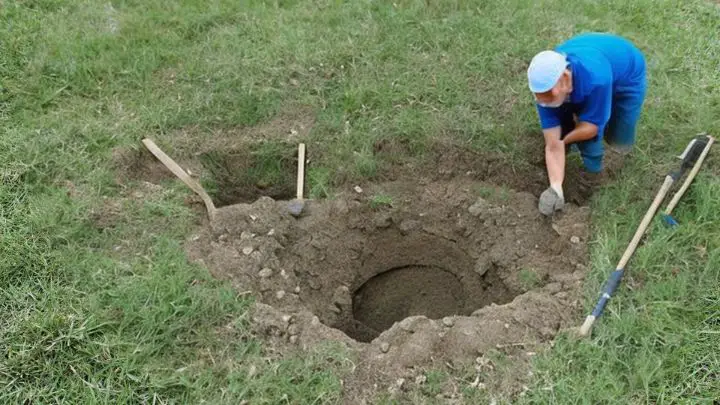
Okay, now you understand the basic components of a septic system. It is time to dig. But wait, you need to check your site for suitability. Here is the list you should check first.
5. Learn About the Local Regulations
Research the local regulations and get any necessary permits for septic system installation. In most areas, you do not need any. But why take the risk?
Follow the regulations and ensure that your DIY septic system meets safety and environmental standards in that particular area.
6. Conduct a Percolation Test
Conduct a percolation test to know how quickly the soil can absorb water, like a professional. It will help determine the size and design of your septic system based on your household size.
If the soil is not good enough (as I have said earlier), then you will need to clean the tank every few years. So test it.
7. Check How Close the Water Source is
Make sure that your septic system is located at least 80 – 100 feet away from any wells, rivers, lakes, ponds, or other water sources. So that the soil can absorb water from your septic system.
Finally, Design Your Septic System
Now that you know what to check for and have the necessary permits, it’s time to design your DIY septic system. Here are the steps you need to follow.
8. Determine the Tank Size
Now, calculate how big your septic tank needs to be to fit your household. A general rule of thumb is to have a tank with a capacity of at least 1,000 gallons for up to three people or less.

9. Septic Tank Placement
Select a suitable location for the septic tank. Make sure it is accessible and manageable when needed if you need to clean it in the future or do some DIY cleaning yourself.
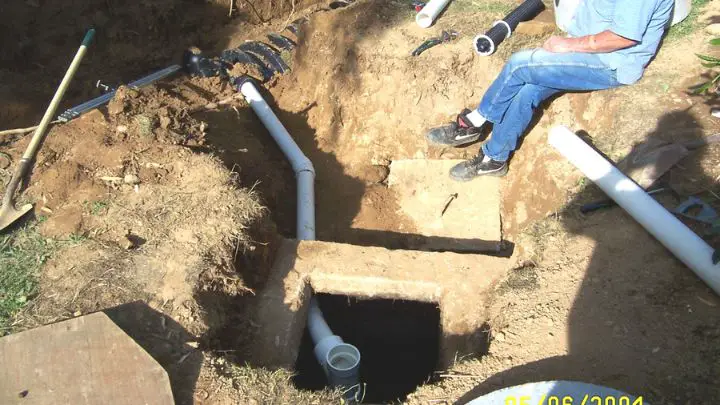
10. Distribution Box and Drain Field Size
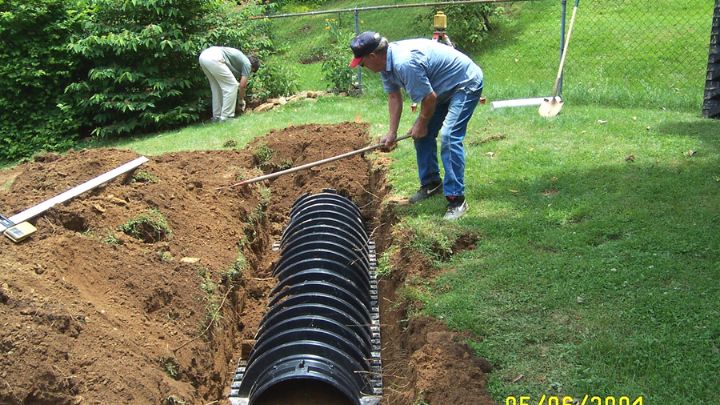
Determine the size and layout of the distribution box and drain field based on the percolation test results that you have got previously. It will ensure proper distribution and filtration of the wastewater in the ground.
Plus, ensure proper slope and alignment for efficient wastewater distribution when installing these two.
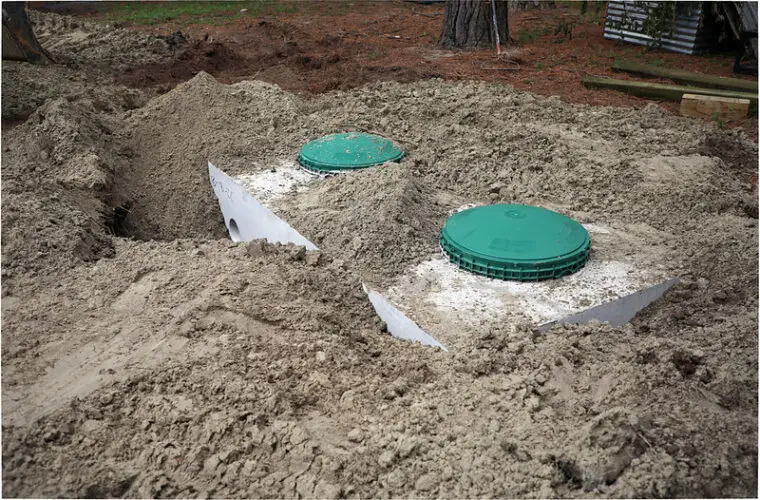
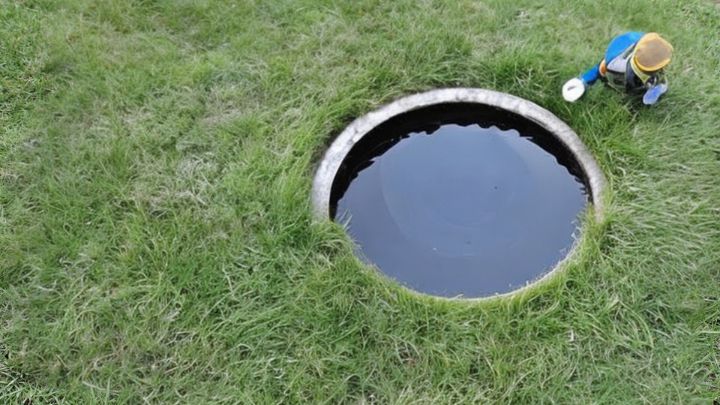
11. Install The Tank
Now install the septic tank according to the manufacturer’s instructions and ensure proper connections with the inlet and outlet pipes. So that you do not have to open it again when you test the system for any leakage.
12. Install Proper Ventilation
Install a proper ventilation system to release those odors produced during the decomposition process in the septic tank. Or else your whole neighborhood will get filled with nasty smells.
13. Inspect again and Test
Now inspect everything again for any leaks or issues. Then perform a final test to ensure proper functioning and percolation rates in your septic system.
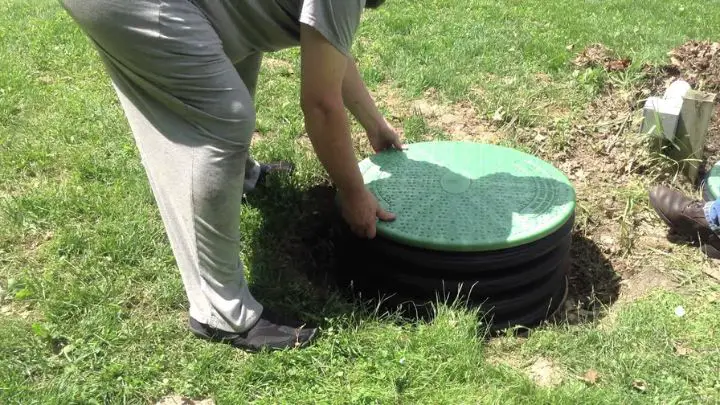
14. Get a Septic Tank Cover
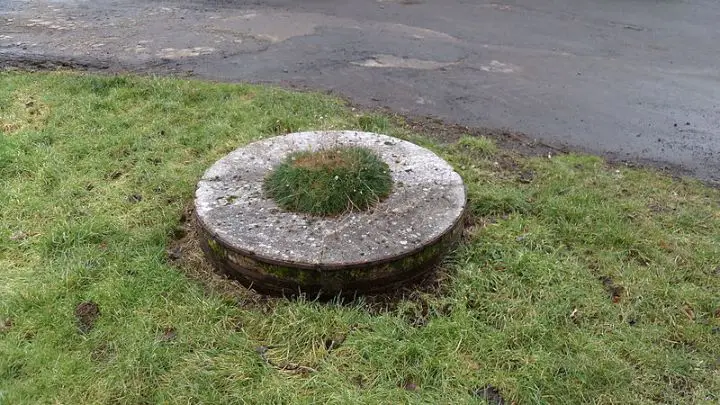
Cover the septic tank, distribution box, and drain field with good materials made of either concrete, steel, or any other hard material maintaining easy access.
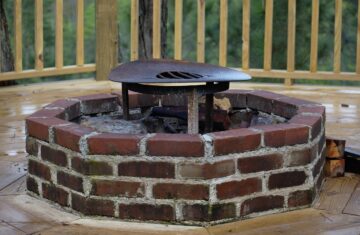
15. Landscape the Area
And then Landscape the area using plants, flowers, fake rocks, and other planting ideas. So that it remains hidden in the yard and no one notices it.
How to Maintain the Septic Tank
Do a regular maintenance check to ensure the longevity and proper functioning of your septic system. Here are some maintenance tips you must know.
16. Do an Occasional Pumping
Schedule occasional septic tank pumps to remove solid waste and prevent clogs in the tank.
If your tank is large then you do not need to follow these tips. It is only applicable to small tanks with less than two people.
17. Conserve the Water
Conserve water to reduce the load on your septic system. Fix any leaks as soon as possible and avoid excessive water usage in the toilet. Do it as required, but not excessive.
18. Control the Disposals
Properly dispose of household chemicals, oils, grease, and other items, as they can harm your septic system and block it completely.
Do not let kids play near the toilet, or else they will throw some times in there block your toilet, and damage the pipeline of the tank.
19. Do a Periodic Inspection
Regularly inspect your DIY septic system and the water drainage line for any signs of leaks, odors, or malfunctions. Address any issues soon and call a professional if you need any.
20. Professional Maintenance
Consider hiring a professional septic system service provider for more complex maintenance tasks if your septic tank design is not that simple. Ask them for a checkup.
My Recommendations
No matter how small or big your septic system is, you need these and the treatment packet once a month so that it does not release uncontrollable odor and make your daily life horrible.
- Underground Septic Tank Kit (Must have)
- Green Color Septic Tank Lid (Managable)
- Strong PVC Pipes (Easy to get)
And one more to remove odors from your home completely.
- Septic Tank Treatment Packets (Just flush it in the toilet, and that’s it)
Please Note
This article is for informational purposes only. Please consult local regulations and professionals before building or modifying your septic system.
Last Words
So, by following the steps and maintaining your septic system properly, you can ensure a reliable and efficient wastewater disposal system for your household for decades to come.
But remember to follow local regulations and seek professional assistance if needed. Good luck.
Featured image: Virginia Sea Grant on Flickr
Follow Me on PINTEREST for More Ideas.