Disclosure: This post may contain affiliate links, As an Amazon Associate, we may earn a small commission if you buy through the link from our site at no additional cost to you as it really helps.
Here are the exact steps that you should follow if you want to know how to align garage door sensors easily and quickly. So that it operates smoothly for years. But before that, you need to know a few things and what tool you need to complete this task.
The purpose of garage door sensors is to detect objects in the path automatically and trigger the door to start a motion. If the sensors are out of alignment, they might not work properly.
It will prevent the door from opening or closing at the right time or behaving wrongly, causing potential injuries and property damage. But we will fix this issue in the following steps.
Table of Contents
How to Detect the Misalignment
Before you even know how to realign garage door sensors, you need to know the root cause of it and what is causing it. The possible cause of this is as follows.
- Your first sign may be that every time you press the close button on your remote, it moves but does not close completely.
- The sensor is not receiving the command from the remote anymore.
- Look at your LED light on the sensors. If it is blinking continuously, then there is a problem.
- You are getting a warning sound every time you open the garage door.
All these issues are common and you can fix them at home using the below steps.
How to Align Garage Door Sensors Safely
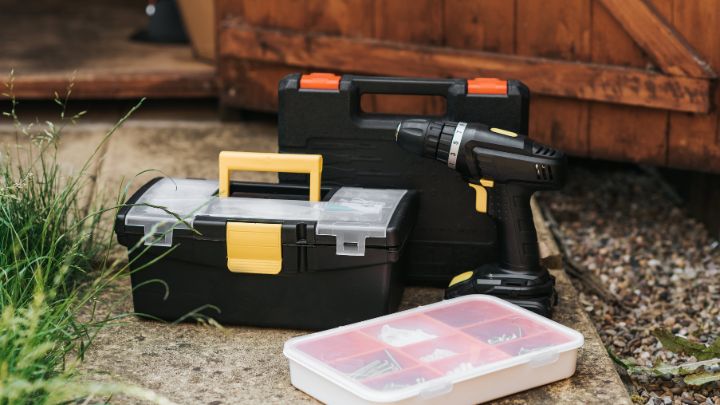
To start aligning the door sensors, you need a few tools. Get these tools for your hardware store and then start the work.
- Electric-resistant gloves.
- A good screwdriver.
- A strong wrench.
- String or any soft rope.
- Water level tool.
Most households have these tools. If you do not have them, you can arrange them by borrowing them from a friend. Now let’s understand how to align garage door sensors properly.
Also, read: How to remove the broken key from your door
1. Disconnect the Power Supply
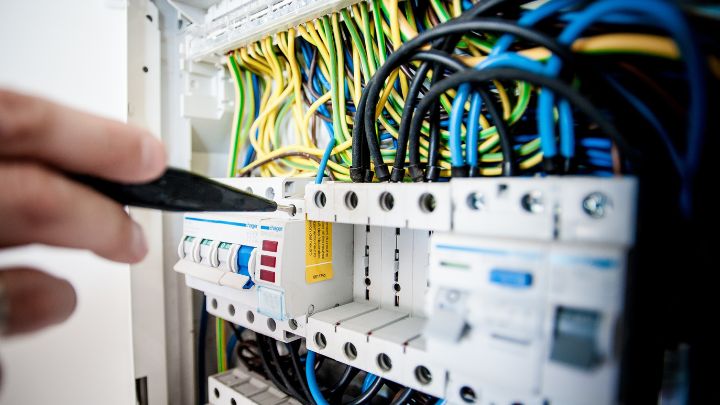
The first thing is to cut the power supply altogether and maintain your safety. Just turn off the sensor switch or the entire supply line of your garage using a main circuit breaker.
Use electricity-resistant gloves to protect yourself from a shock. I recommend you to a professional if you have never done any electrical repair work. But if you did, then it should be easy for you to fix it.
2. Get a Screwdriver to Loosen the Mounting Bracket

Now get a screwdriver and loosen the mounting bracket that is holding the garage door sensors. Insert the driver into the screws and rotate it counterclockwise to loosen them up.
But do not remove the bracket. Just loosen up and will do the work. Then you can move the bracket up or down and fix the sensors.
3. Lower the Garage Door Sensors

Now slowly lower the garage door sensors as low as possible without removing them from the mount bracket. Here do not use any tool as it may damage the sensor. Use your bare hands to do this, as it is a sensitive electronics.
4. Now Attach the String and Adjust It

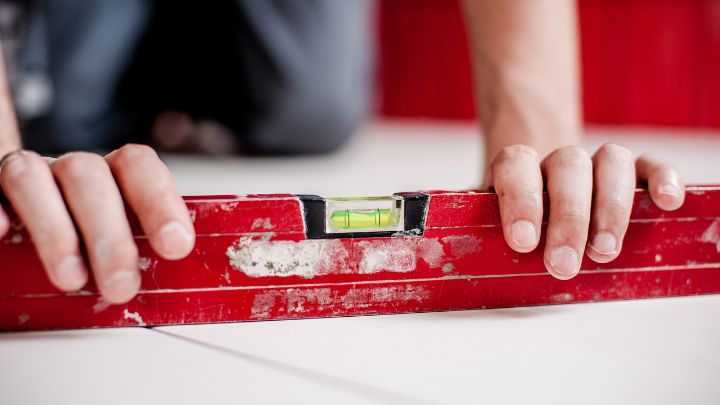
Then you will level the sensors using a sting and water level tool. Tie one end of the string to one sensor and the mount bracket and use a tight knot. Then tie the other end to the other sensor through the garage doorway.
Then place the level under the string and check if it is level across the door opening. Adjust the string and the sensors by tightening it and checking the water level, and then make sure the string is tight and will not move anymore.
Then after aligning them with the level and string, tighten the screws of those sensors and then recheck again for any misalignment using the same method.
5. Remove the String and the Level of the Sensors
Now remove the string for the sensor and test the door. It should work fine, as the garage door sensor is now aligned perfectly. If not, you have to repeat the process or replace those sensors if it has a fault.
Now Test the Sensors
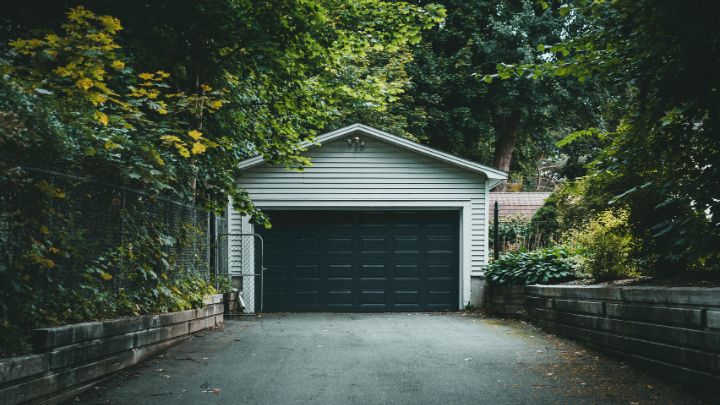
Congratulations! You have learned how to align garage door sensors. Now apply and then follow the below steps to test the sensors.
- Open the garage door using the wall switch or the remote.
- Put a cardboard box in the way when closing it.
- Watch the sensors if it is triggered and reverses its opening. That means the door will stop closing and reverse to its initial position.
- Then remove the cardboard and close the door all the way.
In this process, if you notice nothing and everything looks fine, then you have successfully aligned those garage door sensors. If not, you should repeat the process and see the alignment once again using the string and water level tool.
My Recommendations
If you want a replacement then here are the best garage door sensors. Choose only if the old one is too old and can’t be repaired.
- Beam Eyes Garage Door Safety Sensor (Most Affordable)
- Voice-Controlled Smart Garage Door Sensor (Best Overall)
- Smartphone Controlled Wireless Garage Door Sensor (Premium Quality)
Last Words
So this is how to align garage door sensors easily at home without damaging them. But use some protection before working on these electrical things and make sure to cut the power supply to the sensor and then use those steps to fix it. I wish you the best of luck.
Garage Door Sensor FAQs

How to check if my garage sensors are not aligned?
You will see that whenever you press the close button on your remote, it moves but does not close completely, or the light is blinking continuously, then know your garage door sensors need a realignment.
Why is my garage door sensor blinking green?
It is because the door sensor is detecting something wrong in the machine and is notifying you to fix it as soon as possible.
How can I reset my garage door sensors?
First, disconnect the power supply and remove the mount bracket in your door sensor. Then slowly lower it and use a string to level them up using a water level and tighten them up. Now test your door.
Follow Me on PINTEREST for More Ideas.

