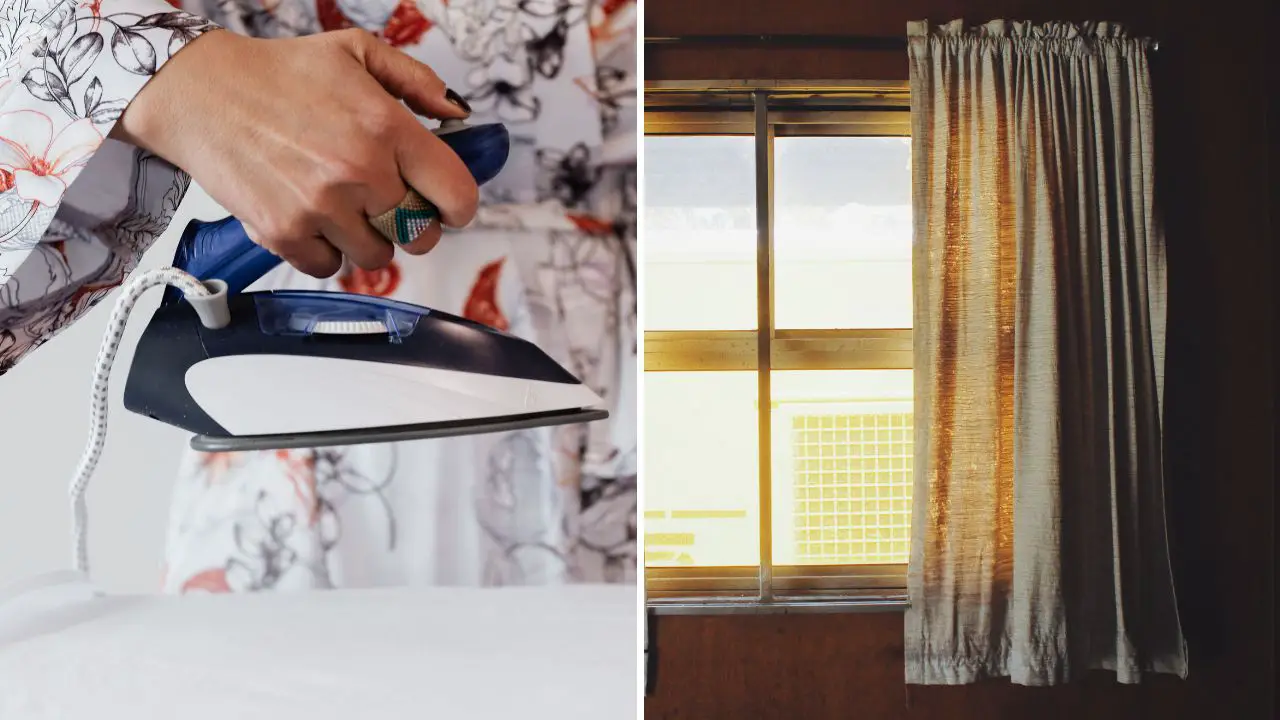
Here is how to iron curtains at home using a few easy steps. Do not stress out and your curtain will not get burned. No matter how bad the situation is the curtain will look like new once again.
But you need to invest a bit more time than any normal cloth ironing as it takes a bit more care or else the wrinkles will remain there and it will look dark from far away. Okay!
Table of Contents
Tools and Materials Required
Before you begin the work gather these tools for a perfect and smooth ironing.
- A good iron obviously.
- A strong board for ironing.
- Water spray bottle.
- Clean cloths to test the iron machine.
- Pins or clips to hold the curtain.
You can also use your hand to sprinkle water but a spray bottle is preferable. Now it is time to prepare the curtain or ironing.
Prepare the Curtains for Ironing
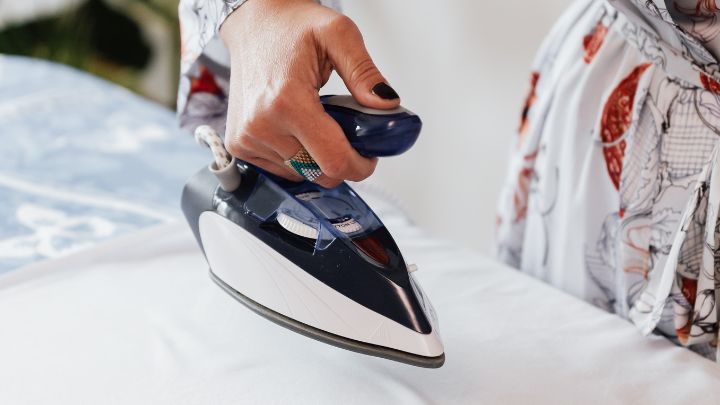
Prepare the curtain for ironing by following the below steps one by one.
- First, remove any hooks or rings that are attached to it without ripping the curtain apart.
- I am sure you have washed it prior to ironing.
- Temperature is not that vital for me, but if you want, then you can follow the manufacturer’s guidelines for the best heat when ironing.
- Now shake the wrinkles by hand and apply water to them.
- With your hand smooth the wrinkles.
- Then lay the curtain flat and attach it to the table with pins.
- Then when the iron is heated up rub it all over and do it until the curtain looks like new.
But remember not to go too slow as it may burn the fabric. Do it quickly and use your common sense when using it.
Different Types of Curtains
One more thing, different types of curtains will require different heat and that you have to find out. I would say use your common sense before ironing.
As for silk, you need less heat than cotton and likewise determine what temperature is best for your curtain type.
Here is what you need to know before you start ironing. There are primarily five types of curtains and they are as follows.
- Cotton curtains
- Velvet curtains
- Silk curtains
- Sheet curtains
- DIY curtains.
Each one requires different heat for better ironing. For example:
- Cotton needs medium to high temperature of heat.
- Velvet needs extra care when ironing as you can not go slow over it. Go fast and do it quickly or else the velvel will get attached to the iron.
- Silk is also similar to velvet. But I recommend you use a small fine cloth over it when ironing so that it doesn’t get burned and attached to the iron.
- The Sheet curtains need light heat for ironing.
- And for the DIY curtain, you decide what temperature it will need.
So do not mess this up and use your common sense to iron them all.
One Last Tip for a Wrinkle-Free Curtain
I want to give you a few more tips so that your curtain remains wrinkle-free for months. Follow these.
- First, wash the surface of the curtain with warm water and detergent by hand. So that all the dust and stains go away. The washing machine is good but for a better wash use your hands.
- Then dry it in the sunlight and start the ironing process.
- Carefully sprinkle water and make sure not a single area remains dry.
- Before you use the iron use a soft cloth and rub the iron a few times to test how it is working.
- Then depending on your curtain type use the iron.
- Do not hurry or do not go slow.
- Use your common sense.
- Then hang the curtain properly and have some plants near it so that you get a good smell around the room.
Now you are done. There are no other tips from my experience.
Last Words
So follow these ideas and iron your curtain smoothly without any wrinkles. make sure you do not burn them. Use the heat as required and use water spray every time you rub the iron over the fabric. I am sure you can get the job done okay!. Good luck.
Pin it / Save it for later

Follow Me on PINTEREST for More Ideas.
