Disclosure: This post may contain affiliate links, As an Amazon Associate, we may earn a small commission if you buy through the link from our site at no additional cost to you as it really helps.
Here are all the parts of an outdoor faucet that a homeowner must know. So that he can fix it within a few minutes without waiting for a plumber or a handyman to fix it for them.
Repairing an outdoor faucet is not a difficult task. These crucial faucet parts will give you a layout that will help you understand the maintenance area of the faucet.
So here we go and a simple buying guide.
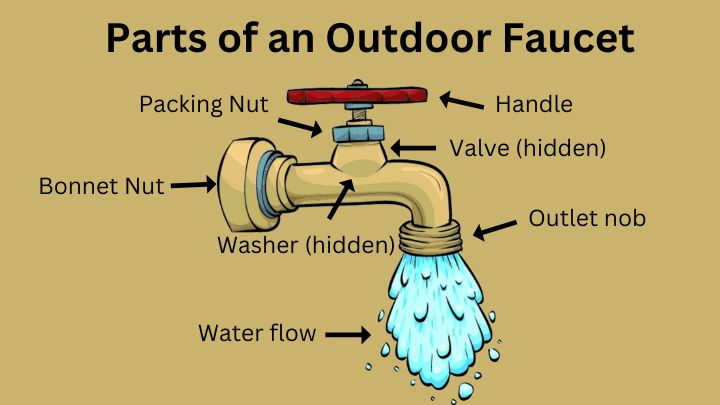
Parts of an Outdoor Faucet (with Diagram)
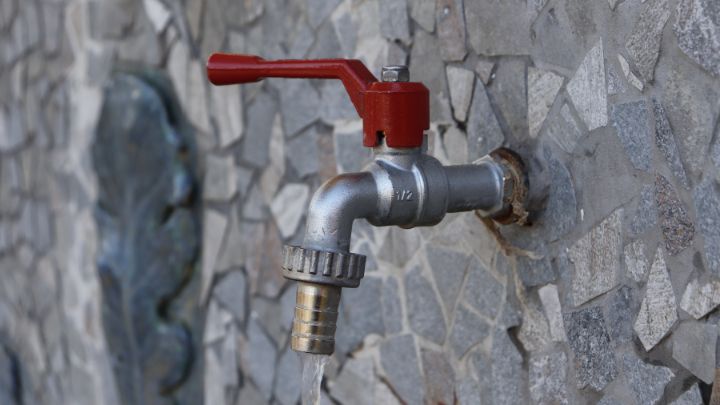
Let me tell you, every faucet or hose bib is different. What you have in the garden or outside is totally different from what you have in the bathroom or kitchen, built for different purposes.
But still, many parts are the same in all the faucets. Learning about them will help you repair any faucet in your house in a quick time.
Also, read: How to fix the low water pressure faucet.
1. The Handle
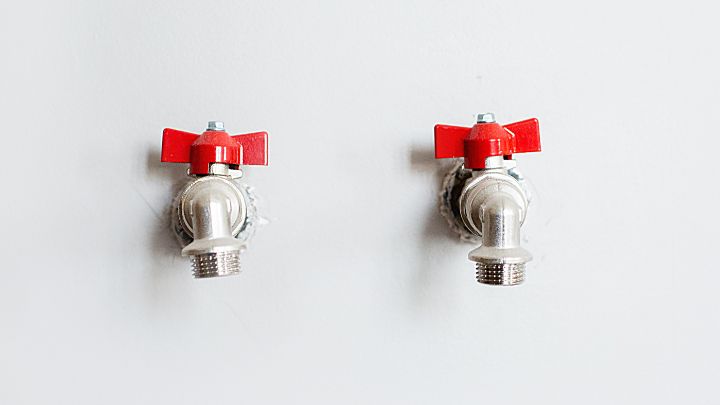
You know the handle, as it is the most visible part of an outdoor faucet. It is used to turn on or off the water. It is shaped like a lever or sometimes a wheel, as I have told you earlier about different types of faucets. You can operate it easily by hand.
2. The Bonnet Nut
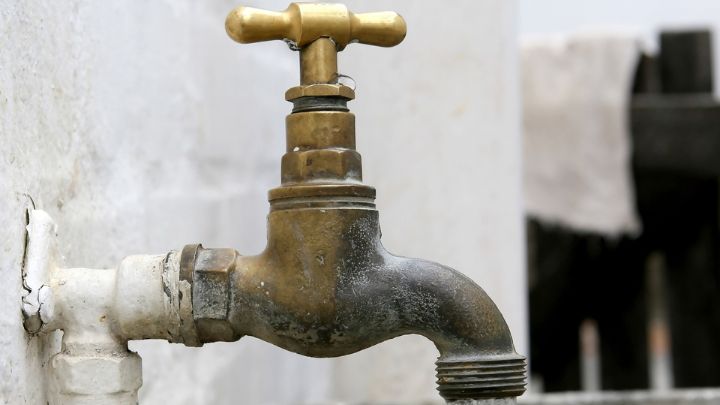
You may not know these faucet parts or know it as a nut. That round shape nut that holds the faucet together and prevents leaks is called a Bonnet nut.
It is basically a cover for the valve. You can rotate it with your hand if you need to open it for cleaning purposes, as it is the main culprit of faucet issues.
3. Packing Nut or Stem Nut
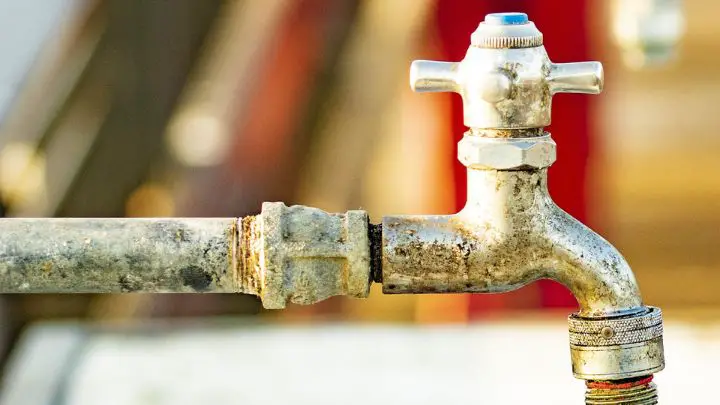
This packing nut is located on the side of the bonnet nut. It secures the valve stem and the packing material that prevents water from leaking around the stem.
You can also tighten or lose it with your hand to fix any leaks or replace the parts in there. Mostly when a faucet stops working, they replace it unless it is a luxury faucet.
4. The Valve Stem
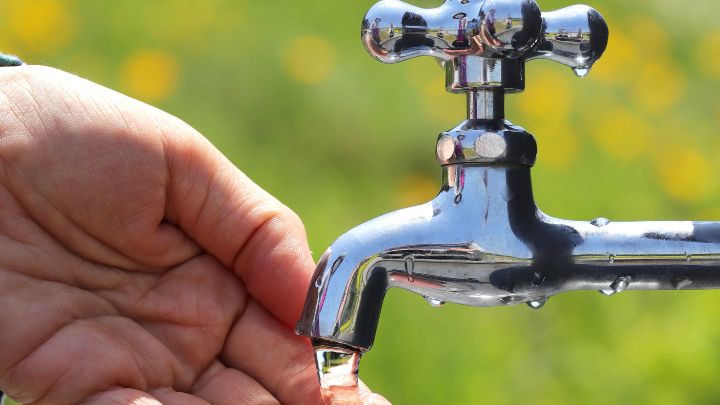
Now the internal parts of an outdoor faucet system. The valve, as the name suggests, controls the flow of water.
When you turn the handle it moves the valve stem up or down to give you access to water through the faucet outlet or stop the water flow. If the valve systems stop functioning, then you must get the faucet replaced.
It is not a good idea to repair it as in the future, the water leak can again occur. Replace it for a safe future.
5. The Washer
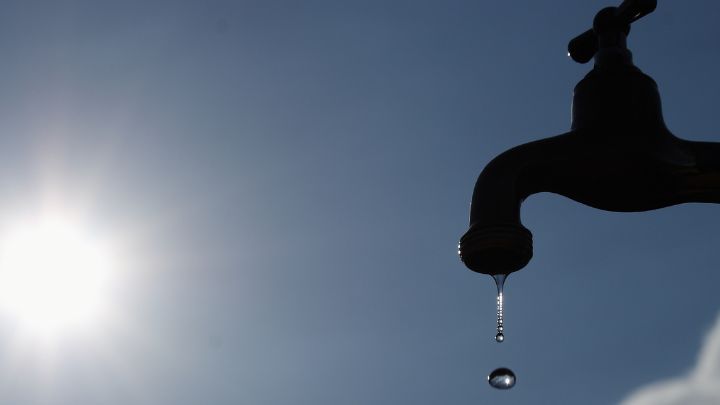
The washer is also hidden here, similar to valve steam. The main purpose of the washer is to create a tight seal when the faucet is closed so that water can not pass it and no leak occurs.
I would say it is extra protection. If you see that you have closed the faucet by still, water is flowing in drops, then know the water is causing it. Change it, and the issue will be solved.
6. The Vacuum Breaker
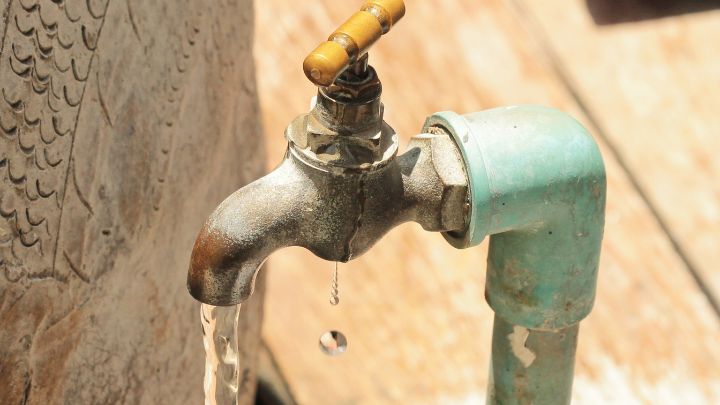
Not every outdoor faucet has a vacuum breaker, but most have. The main purpose of this breaker is to prevent water from flowing backward into the water supply. It is located at the upper end of the faucet above the handle.
7. The Inlet Pipe
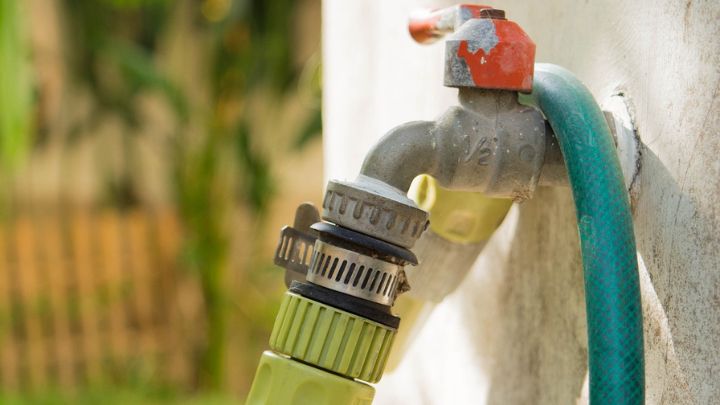
It is a simple pipe that connects the outdoor faucet to the water supply. It is made of PVC or sometimes copper with a soft later on it and is securely attached to the faucet.
How to Keep the Faucet Working for Years?
Inspect and maintain the various parts of an outdoor faucet. Check for leaks, and replace old washers and parts occasionally. It can help increase the lifespan of the faucet and prevent water leakages.
My Recommendations
Get one of these good looking faucet and nevery worry about it (at least a decade).
- Golden Outdoor Hose Bibb (Best Overall)
- Outdoor Male Hose Faucet (Most Affordable)
- Double Outdoor Faucet (Premium Quality)
Last Words
So these are the parts of an outdoor faucet that you must know as a homeowner to fix any faucet-related problem at home. I hope this article will help you in fixing that faucet. Thanks for reading. See you soon.
Follow Me on PINTEREST for More Ideas.
