In this article, I will share how to remove sink stopper at home by yourself, using professional yet beginner-friendly techniques. It will cost you nothing but a few minutes.
If you have noticed the water would not drain in your bathroom sink or draining slowly, then it’s time to solve the issue by removing the sink stopper.
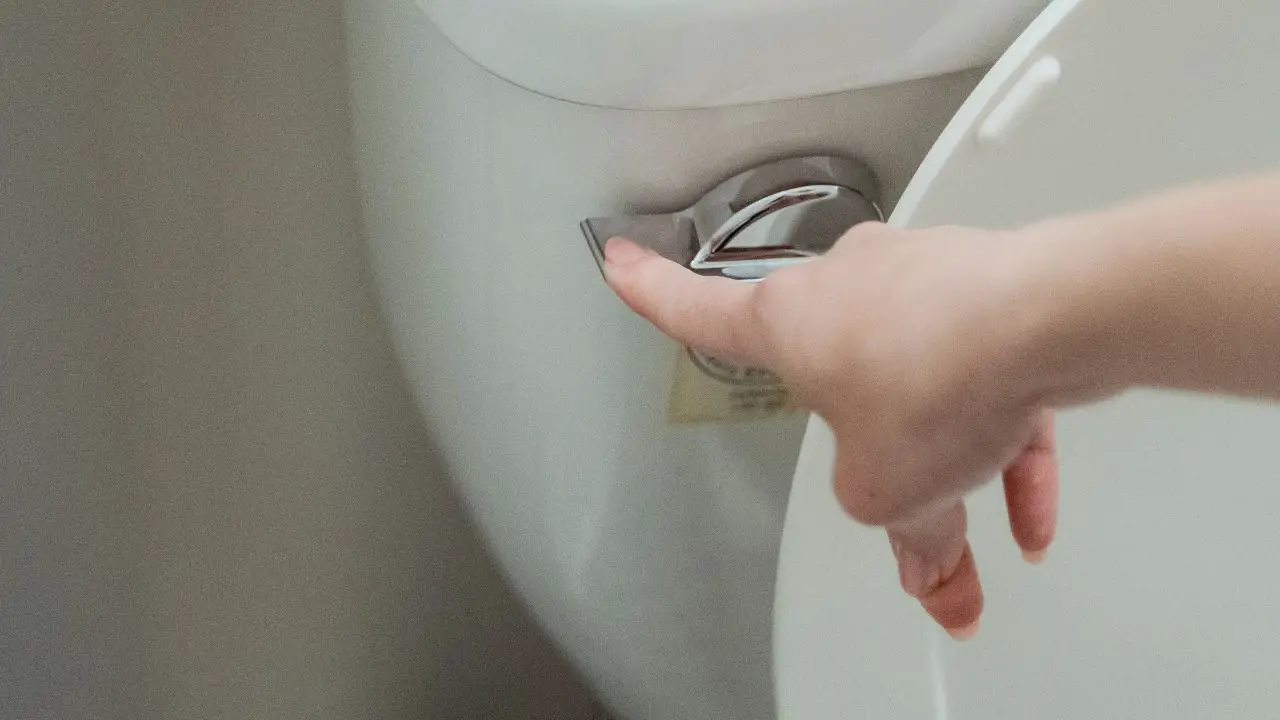
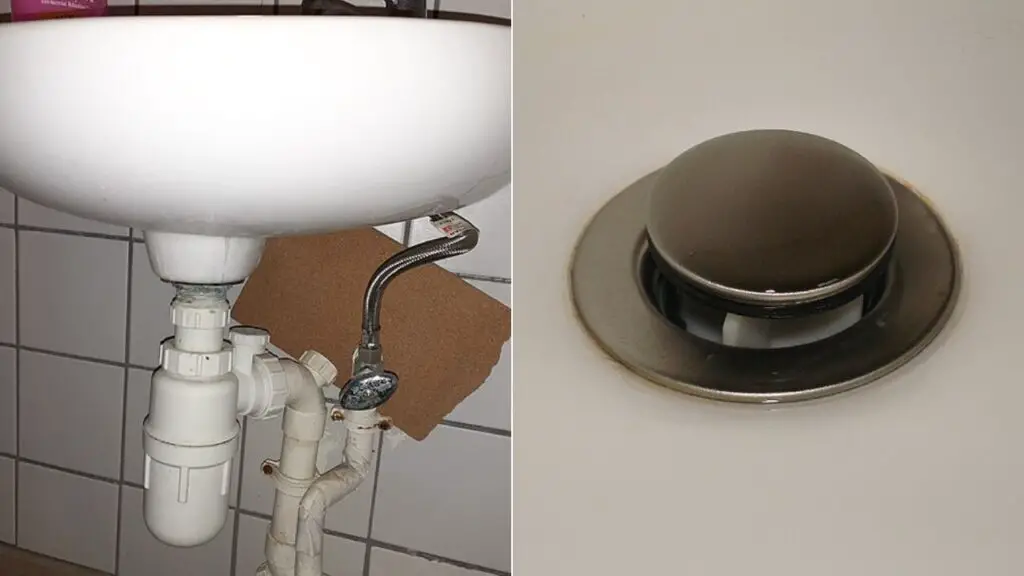
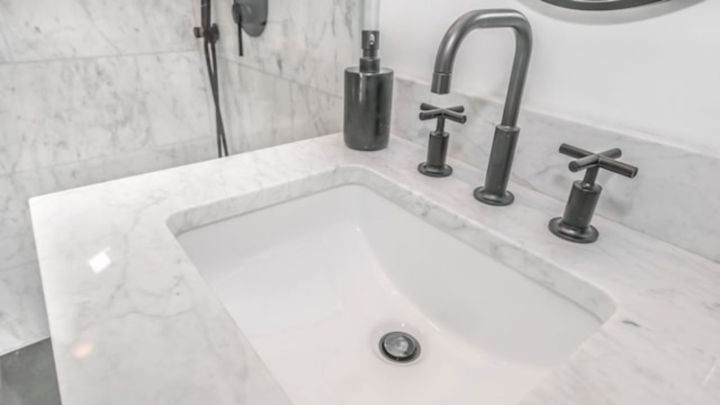
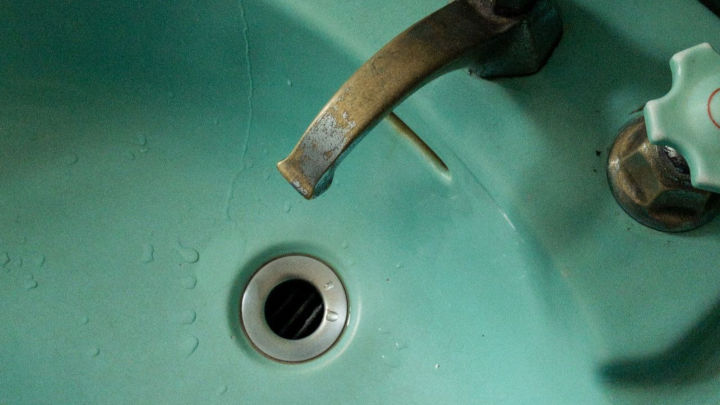
A sink stopper looks circular and made of metal, easily noticeable above your sink drain. It is controlled with a lever mechanism to make it open and close. The top sink part is attached to the drain itself.
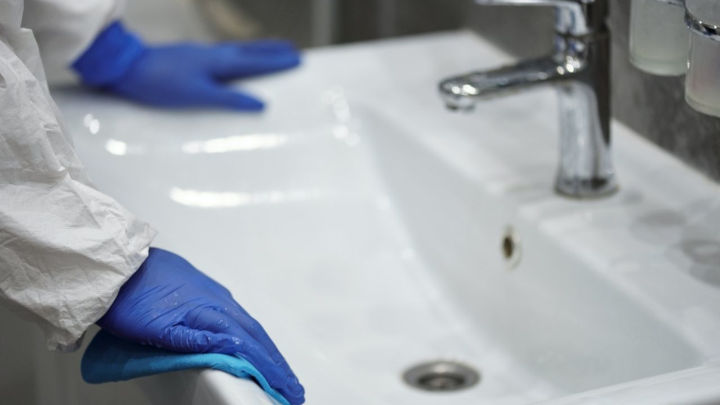
Removing the sink stopper is necessary to solve your water disturbance. Once it is removed you can easily clean the drain with a detergent or anything you like.
How to Remove Sink Stopper (Kitchen and Bathroom)
Before you remove the sink stopper, keep these handyman tools close. So that your work can become easy and the problem is fixed as soon as possible.
- A wrench to loosen the screw.
- A regular hand flashlight.
- An old toothbrush or any brush for cleaning.
- Some bathroom cleaning detergent or liquid.
- A regular bucket.
- Hair clog removal tool.
- Drain cleaner liquid.
You may not need all of them, but if you have access to those tools keep them close while removing the stopper.
Note: Take a photo of your sink mechanism. So that you do not mess up anything while putting them back together. So here is how to remove sink stopper at home.
Table of Contents
1. Try Removing the Sink Stopper with Your Hand
Not every sink has an inbuilt sink stopper. Some also come with a simple pull and push mechanism. You do not need any fancy mechanical equipment to remove the sink stopper. Just grab it, lift and twist it, and it will easily come out.
If not, it’s an inbuilt mechanism. And to remove that, you have to work a little more. Follow the below steps and do exactly what I tell you.
2. Remove All the Items Under the Sink

Make your repair easier by removing everything under the sink, like things in the sink cabinet. So you can more easily move around underneath when needed. Also, use a flashlight if required to look at something closely.
3. Find the Plunger Rod
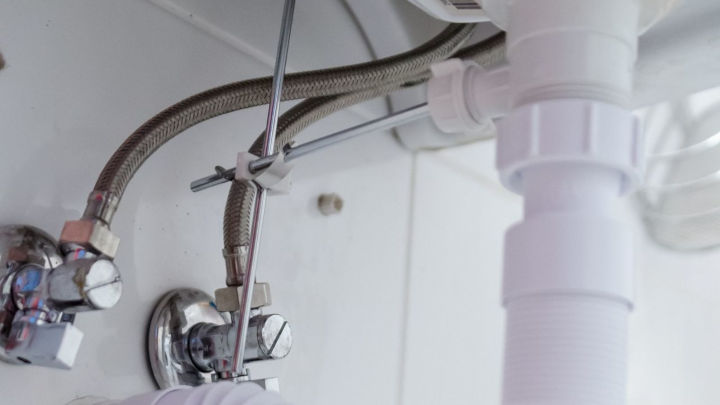
Down below, the rod is situated. You can easily identify it. This horizontal rod connects the sink stopper to the strap. There you will see the rod is attached with a small metal clip. Remove the clip. So that the horizontal rod is no longer connected.
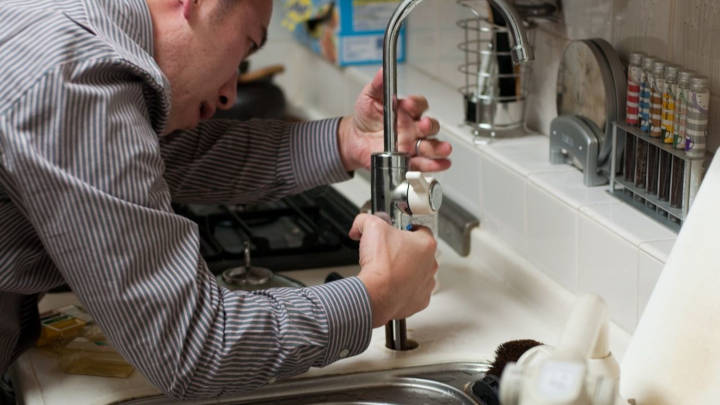
4. Unscrew the Pivot Nut
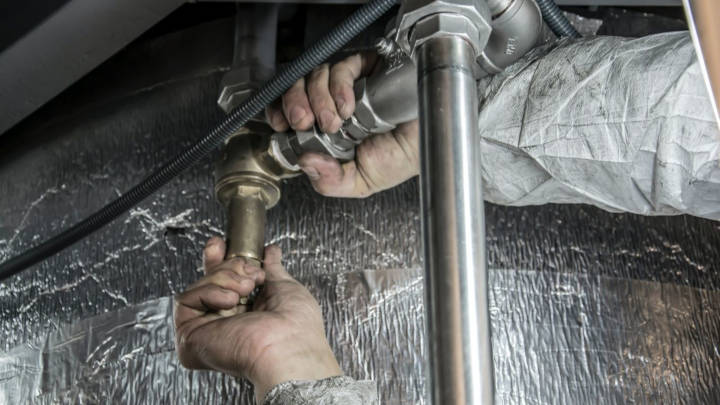
At the other end of the rod, you will see the pivot nut that is still attached to the sink drain. Take a small bowl and place it directly underneath to catch any water that may come out. Then unscrew it with a wrench. It’s for your safety as you are no professional.
5. Remove the Whole Sink Stopper
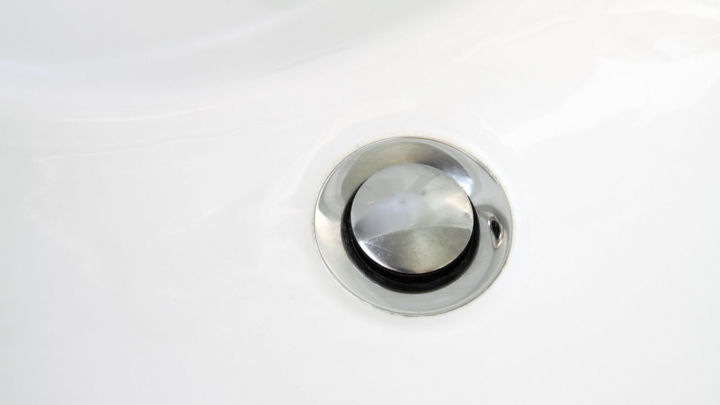
Now try to remove sink stopper with your hand. Just pull it out. Look at it and clean it thoroughly with some detergent or liquid and be ready to reassemble.
6. Clean the Sink Stopper All Together
You have other options also to clean the sink stopper. Those are as follows.
- Pull off all the gunk by hand.
- Use some hot water and wash with detergent.
- Use vinegar if it’s too dirty.
- Soak the stopper for a few minutes to make it super clean.
- Use a soft cloth and clean it.
Note: If your sink stopper seems too dirty, know your drain is even dirtier. Get a hair removal tool, or use a big stick to pull the hair from it. Use some hard chemicals, let it stay for a few minutes, and then flush it. Now after doing all that, it’s time to reassemble everything.
7. Now Reassemble Everything
Once everything is cleaned it’s time to reassemble the pieces. Look at the picture you have taken earlier. Understand it and then start doing it. If you forgot to take a picture, then follow these steps, or you can search online for a possible video tutorial.
- Place the sink stopper back first and then the pivot nut.
- Make sure to tighten it well enough.
- Reattach the horizontal rod to the strap where it was.
- Recheck once again and run the water to test.
- Now put everything back under the sink that was removed earlier.
- You are done.
Do this If the Sink Drain Line Still Does Not Work
If it’s not working, check if you have followed the steps, as I have told you on how to remove sink stopper. Recheck them once again and try to find the missing link. It should solve your problem. If not, call the plumber, and do not mess things up anymore.
Last Words
So how to remove sink stopper at home? You now have the answer. You can do it without any professional hiring and without spending a penny.
Yes, it is not easy, but you can do it no matter whether you have ever touched a sink mechanism or not. Anyone can do it. Just have faith and get on it.
I hope this article has helped you. Share with your friends. See you soon.
Sink Stopper Removal FAQs
How to remove the sink stopper yourself?
First, try to remove the sink stopper using your hand. If not, remove the whole sink stopper by removing the clip of the plunger rod, then clean it and reinstall it.
How to clean the sink stopper?
Clean the sink stopper using some detergent with hot water. Use Vinegar if it’s too dirty.
How to remove a sink drain stopper?
To remove the sink stopper, go under the sink and unscrew the pivot rod arm that is connected to the drain pipe.
Follow Me on PINTEREST for More Ideas.