Disclosure: This post may contain affiliate links, As an Amazon Associate, we may earn a small commission if you buy through the link from our site at no additional cost to you as it really helps.
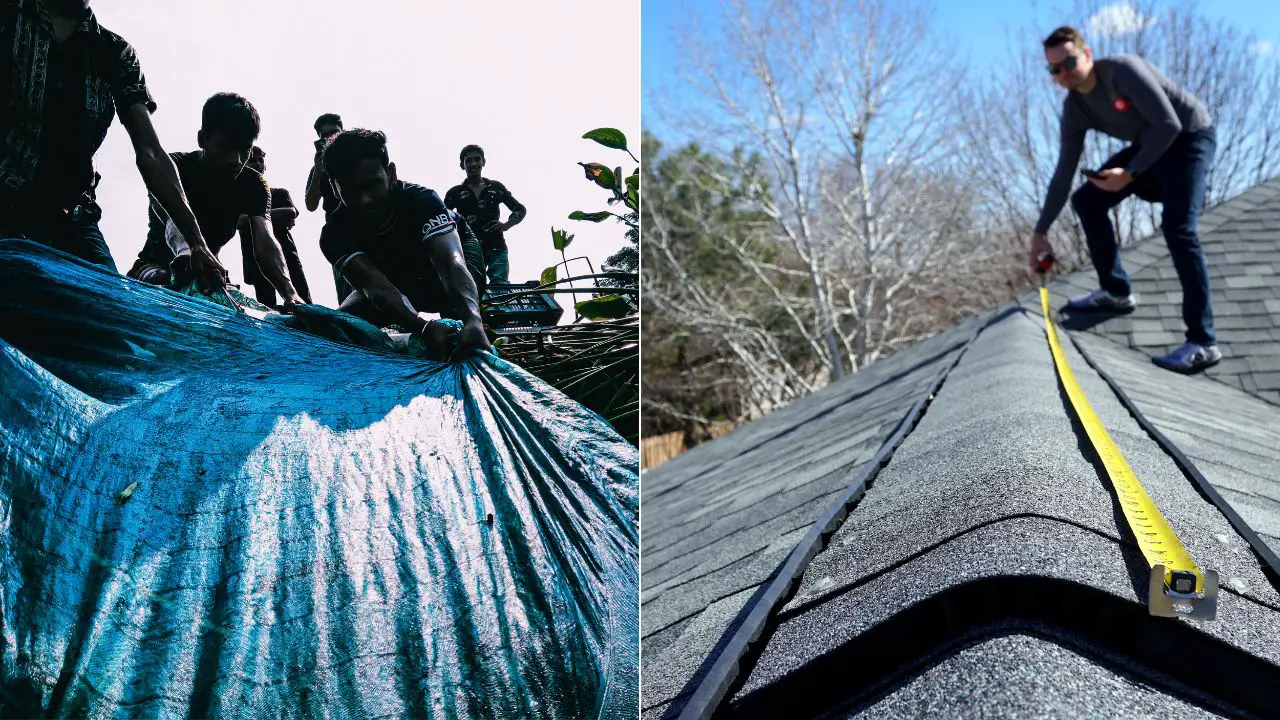
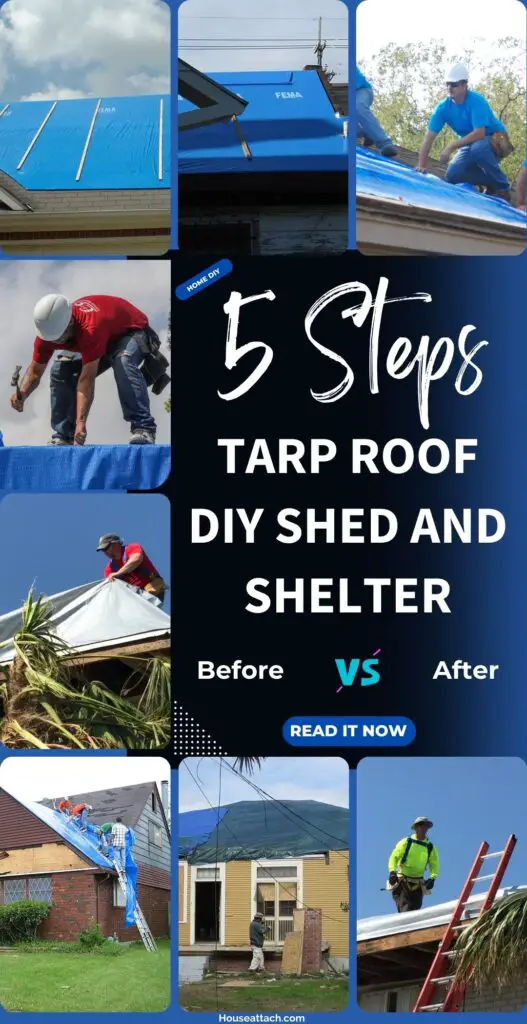
Here is how to tarp a roof and save it from rain, snow, wind, debris, and other things that can damage and reduce the life span of your roof and the interior of the house.
The most common case is a leaky roof and for that, a simple polyethylene waterproof cover will do the job. But if your problem is not that then you need to do something stronger. We will discuss that in a bit.
But first, we need to inspect the roof.
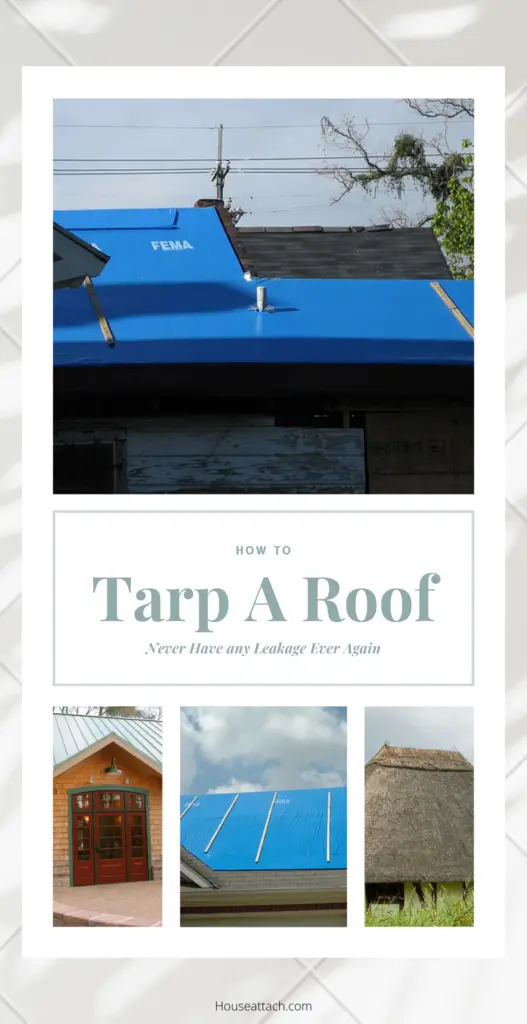
Table of Contents
Inspect the Roof First
Find all the damages and make sure you do not miss anything. Plus, those areas that are vulnerable. Do the following:
- Carefully inspect the entire roof surface and look for wear and tear like cracks or missing shingles and sagging areas.
- Check twice the chimney area, vents, and skylights (if you have one) as they often get damaged and become the primary source of water leaks.
Then you will know where to put in some extra effort and what does not need that much of your time. So now let’s grab some tools and then we will start out DIY work.
Choose the Right Tarp and Tools
I am going to tell you what to buy without talking anything extra. Here is your list.
- Get a good quality tarp like polyethylene or canvas which is waterproof and durable and can withstand any weather for years.
- You need to cover them completely. Buy a few more so that you have more than what is required.
- Get a strong ladder (wood or steel).
- A strong and flexible hammer and a staple gun.
- Hand gloves and sunglasses with a good shoe (non-slip).
Get these tools ready by your hand and follow the below steps to tarp your roof after cleaning the dirt and debris on the surface and fixing loose Shingles.
Clean the Debris and Check the Shingles
Okay, follow these steps.
- Remove all the leaves, branches, and other things that may create issues with your tarp installation. Sweep them away.
- Inspect the shingles and replace them one by one if a few are damaged. It is easy, just fit them into the lock and it will not move.
- Lastly, recheck again everything to find anything new.
Remember, applying the tarp on the roof is not the main part of this process but cleaning it. So take your time and do it efficiently.
How to Tarp a Roof: Step-by-Step
So to make sure the installation is flawless and it can protect your roof for years follow these steps.
Frankly, speaking, a normal tarp will protect your roof for up to 3 years max in normal conditions and if there is only snow, then the life span can be higher. That is my experience.
I also have seen that some people use Tar over the tarp to make it stronger and to make it last a bit longer. You can also do that if you do not mind the smell. Although that smell will go away in a few days.
Okay no further storytelling, let’s get into the steps.
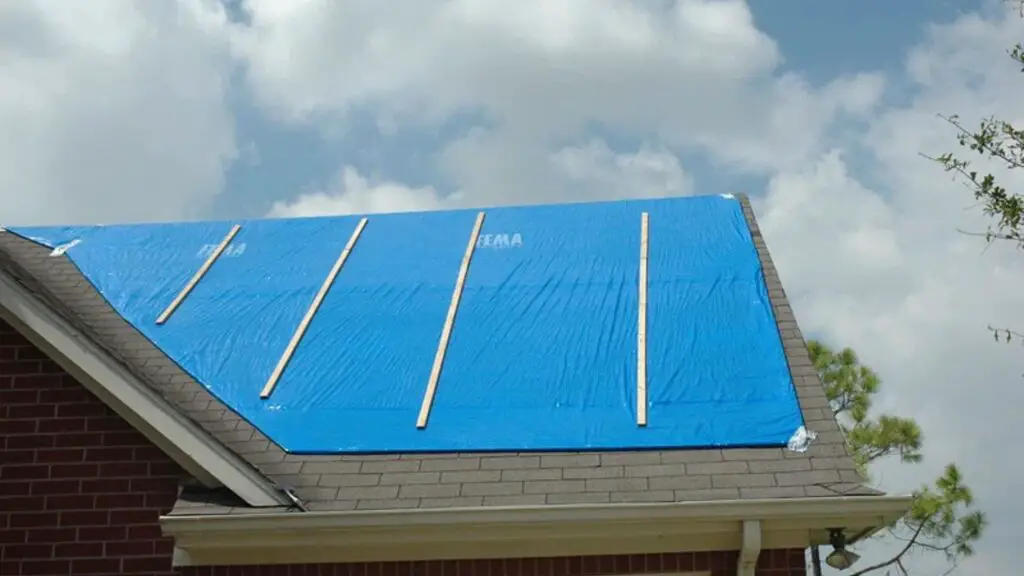
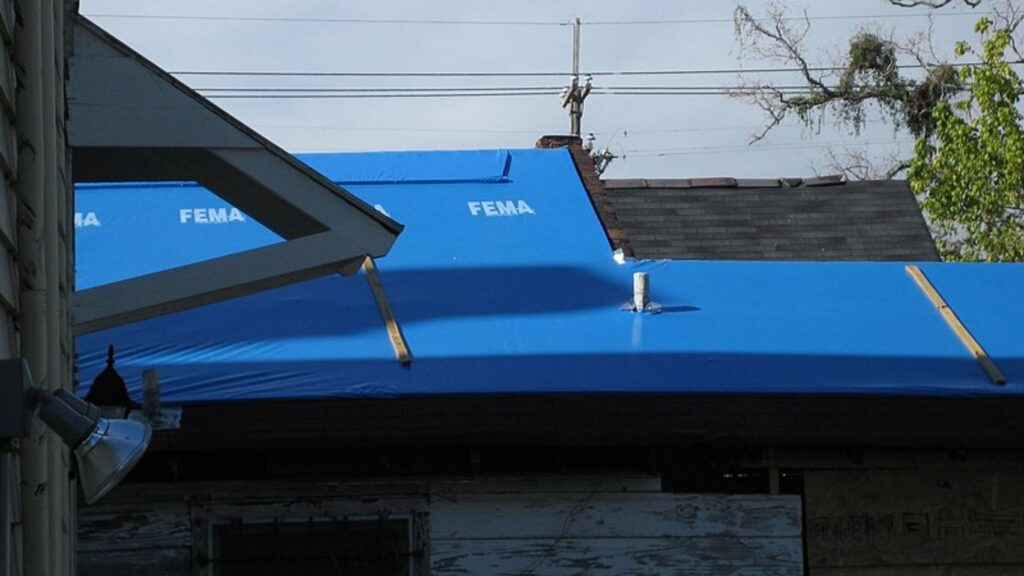
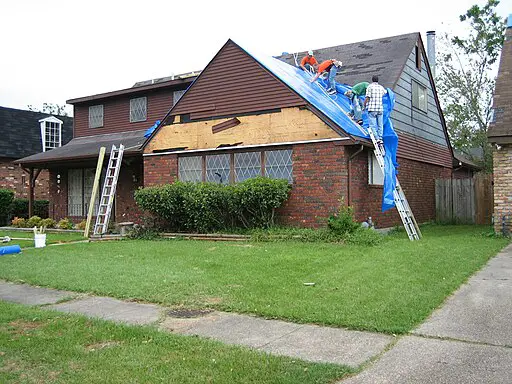
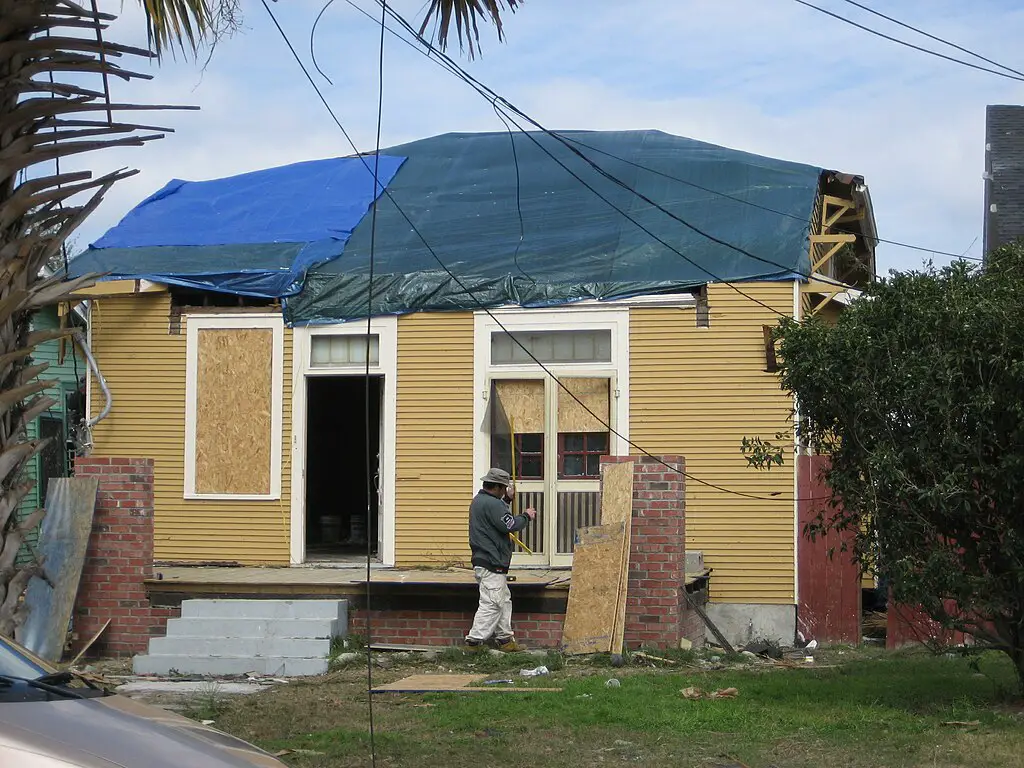
- After you have cleaned the roof, unroll the tarp, position it to the corner of your roof, and make sure each and every corner of the roof is covered.
- If needed overlap them for better insulation.
- Then lay the tarp properly and make sure there are no wrinkles. If there is smoothen them.
- Fit the tarp over your roof surface tightly.
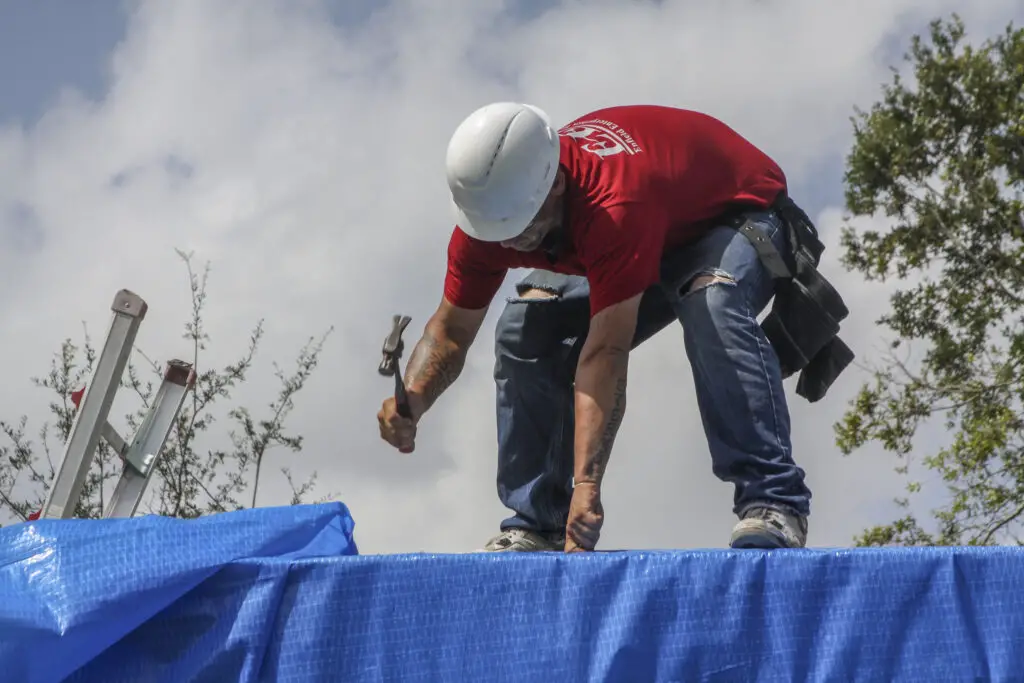
- Secure the tarp using nails on every corner and everywhere it is needed (Come on! It’s common sense and you can find those spots).
- Cut the area carefully if you have vents, skylights, or a chimney, and also secure the area with double nails as these areas are more prone to damage.
- Lastly, inspect the whole area for any loose gaps or wrinkles and fix them all.
- If you want to use Tar all over it to make it more secure, it is optional and people in America or in Europe do not normally use it as it is more popular in Asia.
If you need to adjust anything do it before finalizing the job. Congratulations! You have done it.
How to Maintain the Tarp
Just installation may not be enough, you must maintain it to make the tarp last longer without any leakage. Do the following.
- Insect the tarp on a weekly basis especially if it is raining the whole month.
- Insect for any opening cracks or anything that may disturb the tarp.
- Keep your gutter on the roof clean so that it does not damage the roof and the tarp.
- Regularly remove leaves, snow, and debris from the area.
- If you have big trees, trim them so that you have less debris on the roof.
- Continue it as different weather conditions may damage the tarp. Just check it once a week and you are good to go.
That is all you need to know to maintain the tarp for years to come. Now get on the roof start the work and finish it like a PRO. Good luck.
My Recommendations
Get one of these waterproof roof tarps.
- Thick and Strong Roof-Tarp (Best Overall)
- Multipurpose Waterproof Roof-Tarp (Most Affordable)
- Heavy Duty Fade Resistant Tarp (Premium Quality)
Pin it / Save it for Later
Follow Me on PINTEREST for More Ideas.